> Continuous Improvement Articles
Lean Standard Work in 8 (Not So) Easy Steps
Let’s start out by assuming that you understand the definition of Lean standard work and are familiar with the three main documents for standard work. Armed with that basic information, you still have one big decision to make.
Where do you start implementing Lean standard work?
It can be overwhelming to walk into an area and try to put standard work in place for the first time. Fortunately, there’s a straightforward, step-by-step method to implementing Lean standard work on the shop floor.

1. Get the facts!
Assuming that you already know where you want to put Lean standard work in place, you need to evaluate your starting conditions. Spend time observing and documenting the operation. To really understand the process, make sure you start your data collection well ahead of when you want to ‘go live’ with standard work. The longer you observe, the more intermittent problems you will discover. When you finish, you should know
- The current process
- Customer demand
- Takt time
- Cycle time
- The problems that are affecting production
2. Tackle the quick problems.
Here, you address some of the problems you identified in Step 1. Anything you can easily knock out in advance (like fixing a broken tool or dealing with an upstream quality problem) will make the Lean standard work process go more smoothly. You will have limited time, though, so don’t try to go after everything. If you do try to clear the whole list of problems, you’ll never get around to putting standard work in place.
Focus on the problems that give the biggest bang for the buck and that can be resolved before Lean standard work is supposed to be up and running. You might have identified more attractive projects, but they won’t help you if they are delivered late. (Just remember to fix them after you get standard work in place and stabilized!)
There are a couple of tools that will make this process easier.
- The Pareto Chart. The problems you note while recording cycle times should be documented in a Pareto Chart. This will help you get a sense of the top few things that are causing most of the variation.
- The 5 Whys Root Cause Analysis Tool. Once you know what problems you want to tackle, use the 5 Whys problem solving tool to find their root causes. Then eliminate those underlying problems, rather than treating symptoms.
3. Agree on a method.
When teams gather to improve a process, they tend to want to knock the ball out of the park with impressive gains. Unfortunately, some teams end up spending a lot of time arguing about the best way to do that. Instead of making improvements, they use their limited time debating about what to do. So nothing gets done.
In truth, it generally pays to be better, not perfect. Time and time again, quickly taking action on the shop floor to put an improvement in place beats sitting around talking about it in a conference room. If the team just can’t seem to come to agreement, let a stopwatch be the judge.
4. 5S the area.
Before starting a change, organize the area to get rid of waste. Move unneeded machines, tools, and shelving out of the area—anything that takes up excess space. (Look at my article on 5S for some more hints.)
5. Kaizen and line balance if necessary.
Make the changes that you have identified and the team has agreed upon. After making improvements, the cycle times for different work areas may become uneven. As a result, the line will likely need to be balanced.
6. Reduce inventory and switch to kanban.
I generally recommend waiting until after some initial kaizen is done before you start reducing your inventory. Extra parts are there for a reason, even if it is not a good one.
After making the initial improvements, though, use kanban to get some structure in the material system. Establish inventory levels using kanban calculations, but keep any excess close at hand. Clearly mark it as surplus, and do a countermeasure if you dip into it. Once you are sure you have the kanban quantity set right, use up the extra material.
This step requires balance. Pull inventory too quickly, and underlying problems will jump up and bite you. But if you don’t make inventory reduction a formal, measured goal, you will never discover the problems impeding flow.
7. Lay out the area.
Once the processes are improved and inventory levels are established, it’s time to lay out the area. You’ll generally see some space savings here as a result of 5S, inventory reduction, and kaizen.
8. Document the new process.
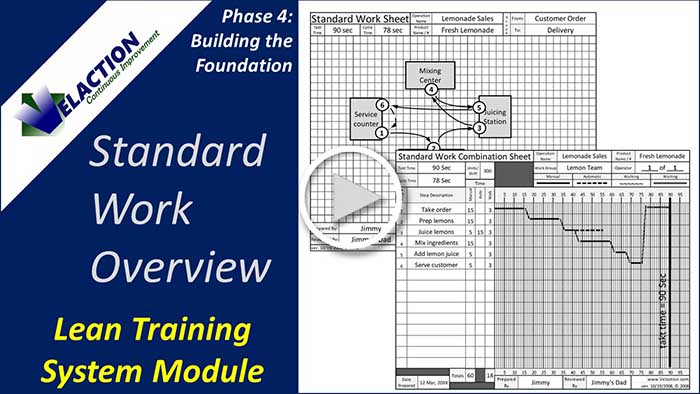
After everything is in place, do a final time study and document the changes on the Lean standard work documents.
In the time soon after starting standard work, you will probably have to make additional changes to work out any bugs. But later, you will begin to see more opportunities for real improvement. The principle is the same for both cases. Once Lean standard work is established, you have a foundation for positive and continuous change.

0 Comments